Help and Support
Setting up Your New Website with Epos Now Online
Step 1: Installing the app
Install the Epos Now Online app
During the installation process select the plan that matches your needs. Each plan has a different level of features and benefits that you can swap between at any time.
Step 2: Accessing your new website template
Once you have installed the app, you will be directed to the app dashboard to choose your website template.
If you have previously installed the app and cannot remember how to get back to the app, login to your back office account, go to Apps > My Apps and look for the Epos Now Online app and select ‘Setup’.
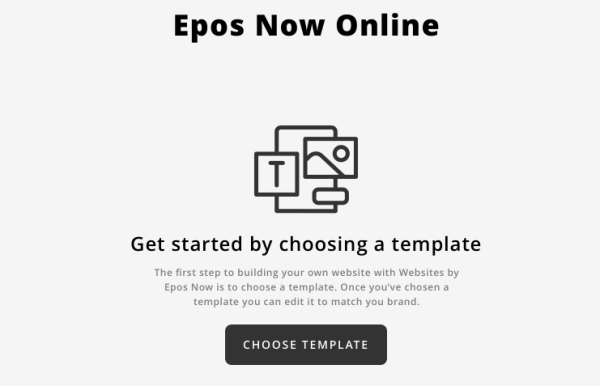
On the Epos Now Online dashboard, you will see the getting started message as shown below. Click ‘Choose Template’ to proceed.
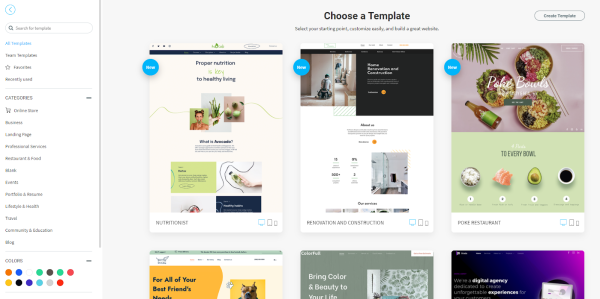
You will be redirected to the template library to make your choice. You may choose any templates available to your plan level. Don’t worry too much about how they look right now as you will get the chance to customise them further in the next step.
Step 3: Editing your website
Once you’ve chosen your website template, you can start editing!
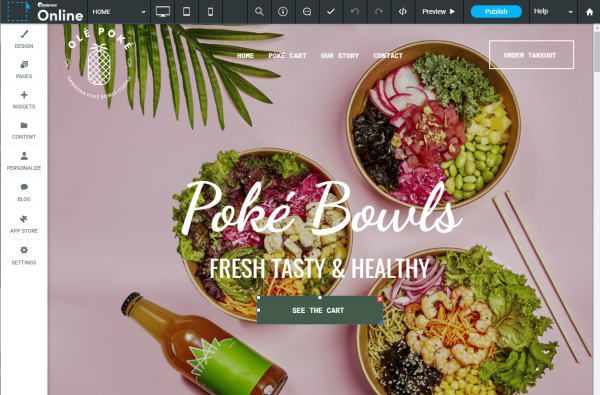
The editor is a drag and drop editor which will allow you to select any element on the page to edit directly as you need.
Different elements or ‘widgets’ as they are referred to will allow for different functionality and levels of customisation.
The left-hand menu will house all your different site settings and layout information which you can use to tweak your website as you need.
Saving your changes - any changes you made are automatically saved so you don’t have to worry about losing any edits you make. You also do not need to ‘Publish’ your site straight away to save the changes. These will remain in place until you are ready to set them live.
Note: If you have chosen a template which you have changed your mind on, you can choose to start over with a new template by going to ‘Design > Reset Site’ from the left-hand menu.
Step 4: Setting your site live
When you are ready to get your new site up and running, you can press the ‘Publish’ button located in the top right of the editor.

To access the editor, go to your Apps page, My Apps > Epos Now Online > Setup and click on ‘Edit website’.
Note: You can publish your site whenever you are ready to share your changes with the world. You can publish bit-by-bit as you complete each page, or save the changes up until you’re ready. It’s up to you.
When you publish your site for the first time, you will be directed back to the Epos Now Online dashboard to continue with setting up your website address details.
Step 5: Choosing your website domain
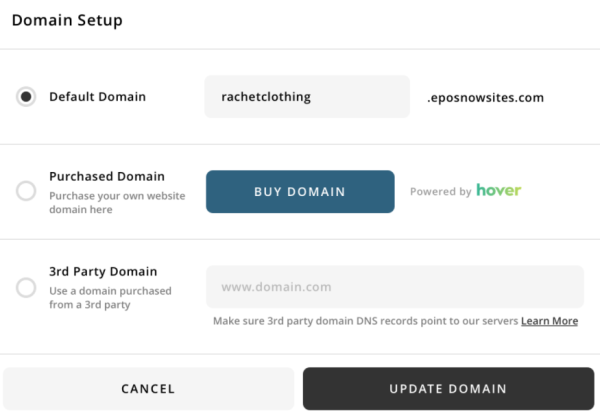
Your website domain is the website address customers will use to visit your website. This is an address which will look something like mysite.eposnowsites.com
Depending on your website plan, you will have different options to setup your website domain.
The three options available are:
- Default domain: this is a site name similar to the example above.
It will be the name of your choice followed by .eposnowsites.com
e.g. peteskebabs.eposnowsites.com - Purchase a domain (Requires website tier or higher): this option will allow you to purchase a domain through domain provider Hover. Purchasing a domain using Hover will automatically configure all settings required to make your new address accessible with your new website.
- Bring your own domain (Requires website tier or higher): this option lets you use a domain name you may have purchased previously from a 3rd-party provider. You can set the name in our settings but you will still need to setup the DNS record settings with your provider directly. Details on the DNS settings listed below.
|
CNAME |
|
|
A Records |
|
You can always change these settings from your Epos Now Online dashboard at a later stage. Just click on the ‘Domain Setup’ button and adjust your options.
